
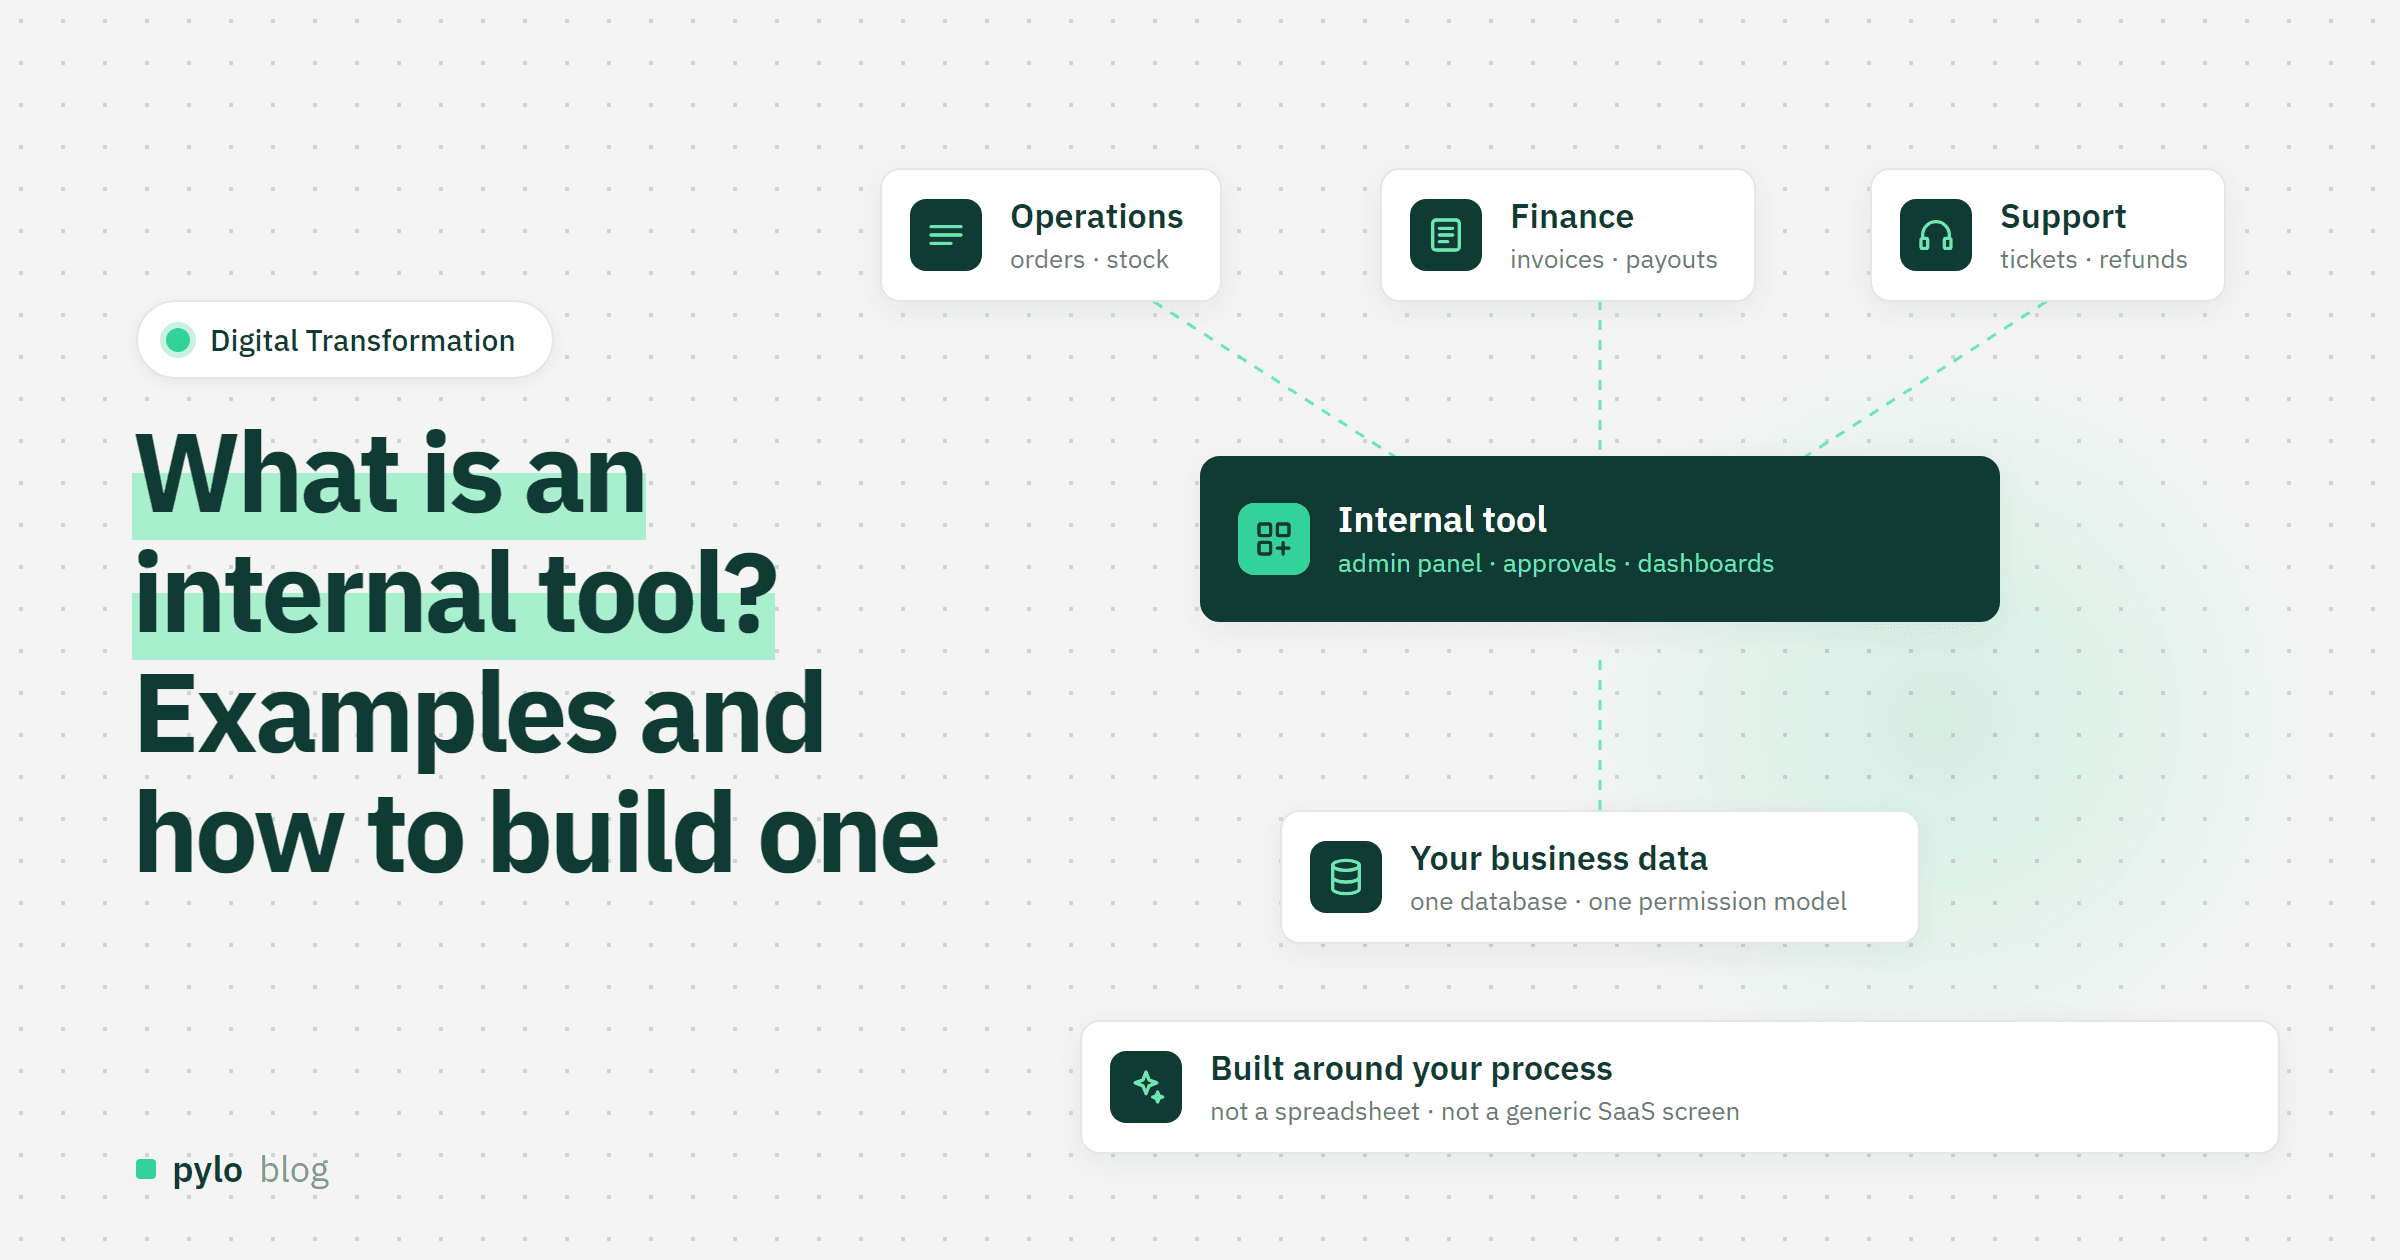
Every company runs on software its customers never see: the screen where support looks up an order, the sheet where finance approves refunds, the form where operations books a delivery. These are internal tools. This post explains what an internal tool is, shows common examples, breaks down what every internal tool is made of and walks through the ways to build one.
What is an internal tool?
An internal tool is an application built for a company's own employees to run a business process. It reads and changes company data, such as orders, customers, invoices, stock or tickets, and it is used by a known group of people inside the business rather than by the public.
Internal tools are usually:
Specific to one process. A refund approval app, a production planning board or a customer lookup screen.
Built on existing data. They sit on top of a database, an ERP, a CRM or a set of spreadsheets.
Used by a known group. Operations, finance, sales or support, each with different rights.
Functional before beautiful. Tables, forms, filters and buttons matter more than design.
Many internal tools start life as a spreadsheet and that spreadsheet becomes a tool the moment several people depend on it to get their work done.
Internal tool examples
Admin panel. A view on top of your product database where staff can look up, edit and correct records.
Back office for orders. Incoming orders, status changes, delivery dates and notes in one place instead of in an inbox.
Approval workflows. Discounts, refunds, purchase requests or holiday requests that need a yes from a specific person.
Customer support console. Everything about one customer on one screen: orders, invoices, tickets and contact history.
Inventory and production planning. Stock levels, reorder points and machine schedules.
Lightweight CRM. Leads and deals tied to your own orders and products. Our guide on building your own CRM goes deeper.
Reporting dashboards. Revenue, open orders or ticket volume for the team that needs the numbers every morning.
Data entry forms. Structured input for field staff, partners or new hires instead of free-text emails.
Internal tools vs customer-facing software
Internal tool | Customer-facing app | |
Users | Employees, a known and small group | Customers, an open and large group |
Main goal | Get a process done fast and correctly | Win and keep customers |
Design | Tables, forms, filters | Brand, onboarding, polish |
Permissions | Fine-grained by role, team and record | Usually one user sees their own data |
Change rate | High, follows how the process changes | Planned releases |
The line is not always sharp. A customer portal often shows the same data as an internal back office, just filtered to one customer. Building both on the same backend saves you from keeping two copies of the truth.
Signs you need an internal tool
Several people edit the same spreadsheet and overwrite each other
Someone copies data from one system into another every day
Approvals happen by email and nobody can say who approved what
One colleague knows how the macro works, and holidays are a risk
You cannot answer a simple question, such as "which orders are late?", without building a report by hand
Staff have access to far more data than their job needs, because the spreadsheet cannot hide columns per person
If several of these sound familiar, our post on Excel as a database describes where spreadsheets break and how to move on.
What an internal tool is made of
Every internal tool, however simple it looks, has the same six parts:
Data model. The things the process is about, such as orders, customers and products, and how they relate.
Interface. Tables, detail views, forms, boards and dashboards.
Permissions. Who may see and change which records and fields.
Logic and automation. Status changes, notifications, calculations, scheduled jobs.
Integrations. Connections to the shop, accounting, email or other systems through an API or webhooks.
Audit trail. A record of who changed what and when.
Teams usually start with the interface because it is the part people see. In practice the first three parts decide whether the tool lasts. Screens are easy to redo. A messy data model or permissions bolted on later are expensive to fix once real data and real users depend on them.
Four ways to build an internal tool
Approach | Good for | Watch out for | Typical time to first version |
Spreadsheet plus forms | One team, simple lists | No real permissions, no relations, breaks with scale | Hours |
UI builder on an existing database | Teams that already have a well-run database and developers | You still own the database, the API and the permission logic. Per-seat pricing grows with every colleague you add | Days |
Backend platform with built-in admin UI | Teams that need data model, API, permissions and screens together, easiest to expand and share across the company | Very custom screens may still need your own frontend on top of the API | Days |
Custom code | Unusual requirements, large in-house dev team | Highest cost to build and maintain. Every change needs a developer | Weeks to months |
The key question is whether you already have a backend you are happy with. If you do, a UI layer on top may be enough. If your data still lives in spreadsheets, emails and a few disconnected tools, you need the backend first, and a tool that only draws screens leaves that work with you. Our comparison for teams that need the backend, not just the screens on top goes through this trade-off in detail. For the general decision, see build vs buy software and our overview of low code and no code.
How to build an internal tool, step by step
Pick one process. Choose the one that costs the most time or causes the most errors today. Refund approvals or order tracking are typical first candidates. Do not start with "replace everything".
Write down the data. List the things involved, their fields and how they link. An order has a customer, several line items and a status. This list is your data model.
Define roles and rights. Who may create, read, edit and delete each kind of record? Who only sees their own team's data? Who may approve?
Build the screens people need. A table to find records, a detail view to work on one, a form to create one. Add a board or dashboard where the process needs it.
Automate the boring parts. Send a notification when a status changes, create a task when an order is late, sync new records to accounting.
Import the existing data. Map the spreadsheet columns to the new fields, run a test import and fix what does not fit before the real switch.
Roll out with the people who do the work. Run the old and new way side by side for a short time, collect feedback and change the tool weekly at first.
What does an internal tool cost?
The cost has three parts: the time to build the first version, the platform or hosting fees, and the time to change the tool as the process changes. The third part is the one most teams underestimate. A good internal tool is changed often, so pick an approach where adding a field or a status does not need a developer and a deployment.
Look closely at how a platform charges. Internal tools tend to spread through a company: first one team uses it, then three. Per-seat pricing can turn a cheap pilot into a large line item. pylo has unlimited users on every plan and starts at €0, with paid workspaces from €49 per month. The pricing page has the details.
Common mistakes
Copying the spreadsheet one to one. Use the move to clean up the data model, split repeating columns into related records and remove fields nobody uses.
Adding permissions at the end. Retrofitting rights after everyone has seen everything is painful and politically hard.
Building without the users. The people who run the process know the exceptions. Ask them early.
A second source of truth. If the tool keeps its own copy of data that also lives elsewhere, the two will drift apart. Connect, do not copy.
No audit trail. Sooner or later someone asks who changed a price or approved a refund. Make sure the answer is one click away.
Conclusion
An internal tool is any application your own team uses to run a process on company data. The useful ones share the same base: a clean data model, real permissions, automation and a record of changes. Screens come on top and are the easiest part to change later. Start with one painful process, get that base right and grow from there.
pylo gives you that base in one platform: entities with relations, record-level permissions, an admin UI with tables, boards and forms, flows for automation, a typed GraphQL API and an audit log, hosted in Germany. If you are planning a larger system, our guide to a custom ERP shows how internal tools grow into one.
Keep reading
Digital Transformation
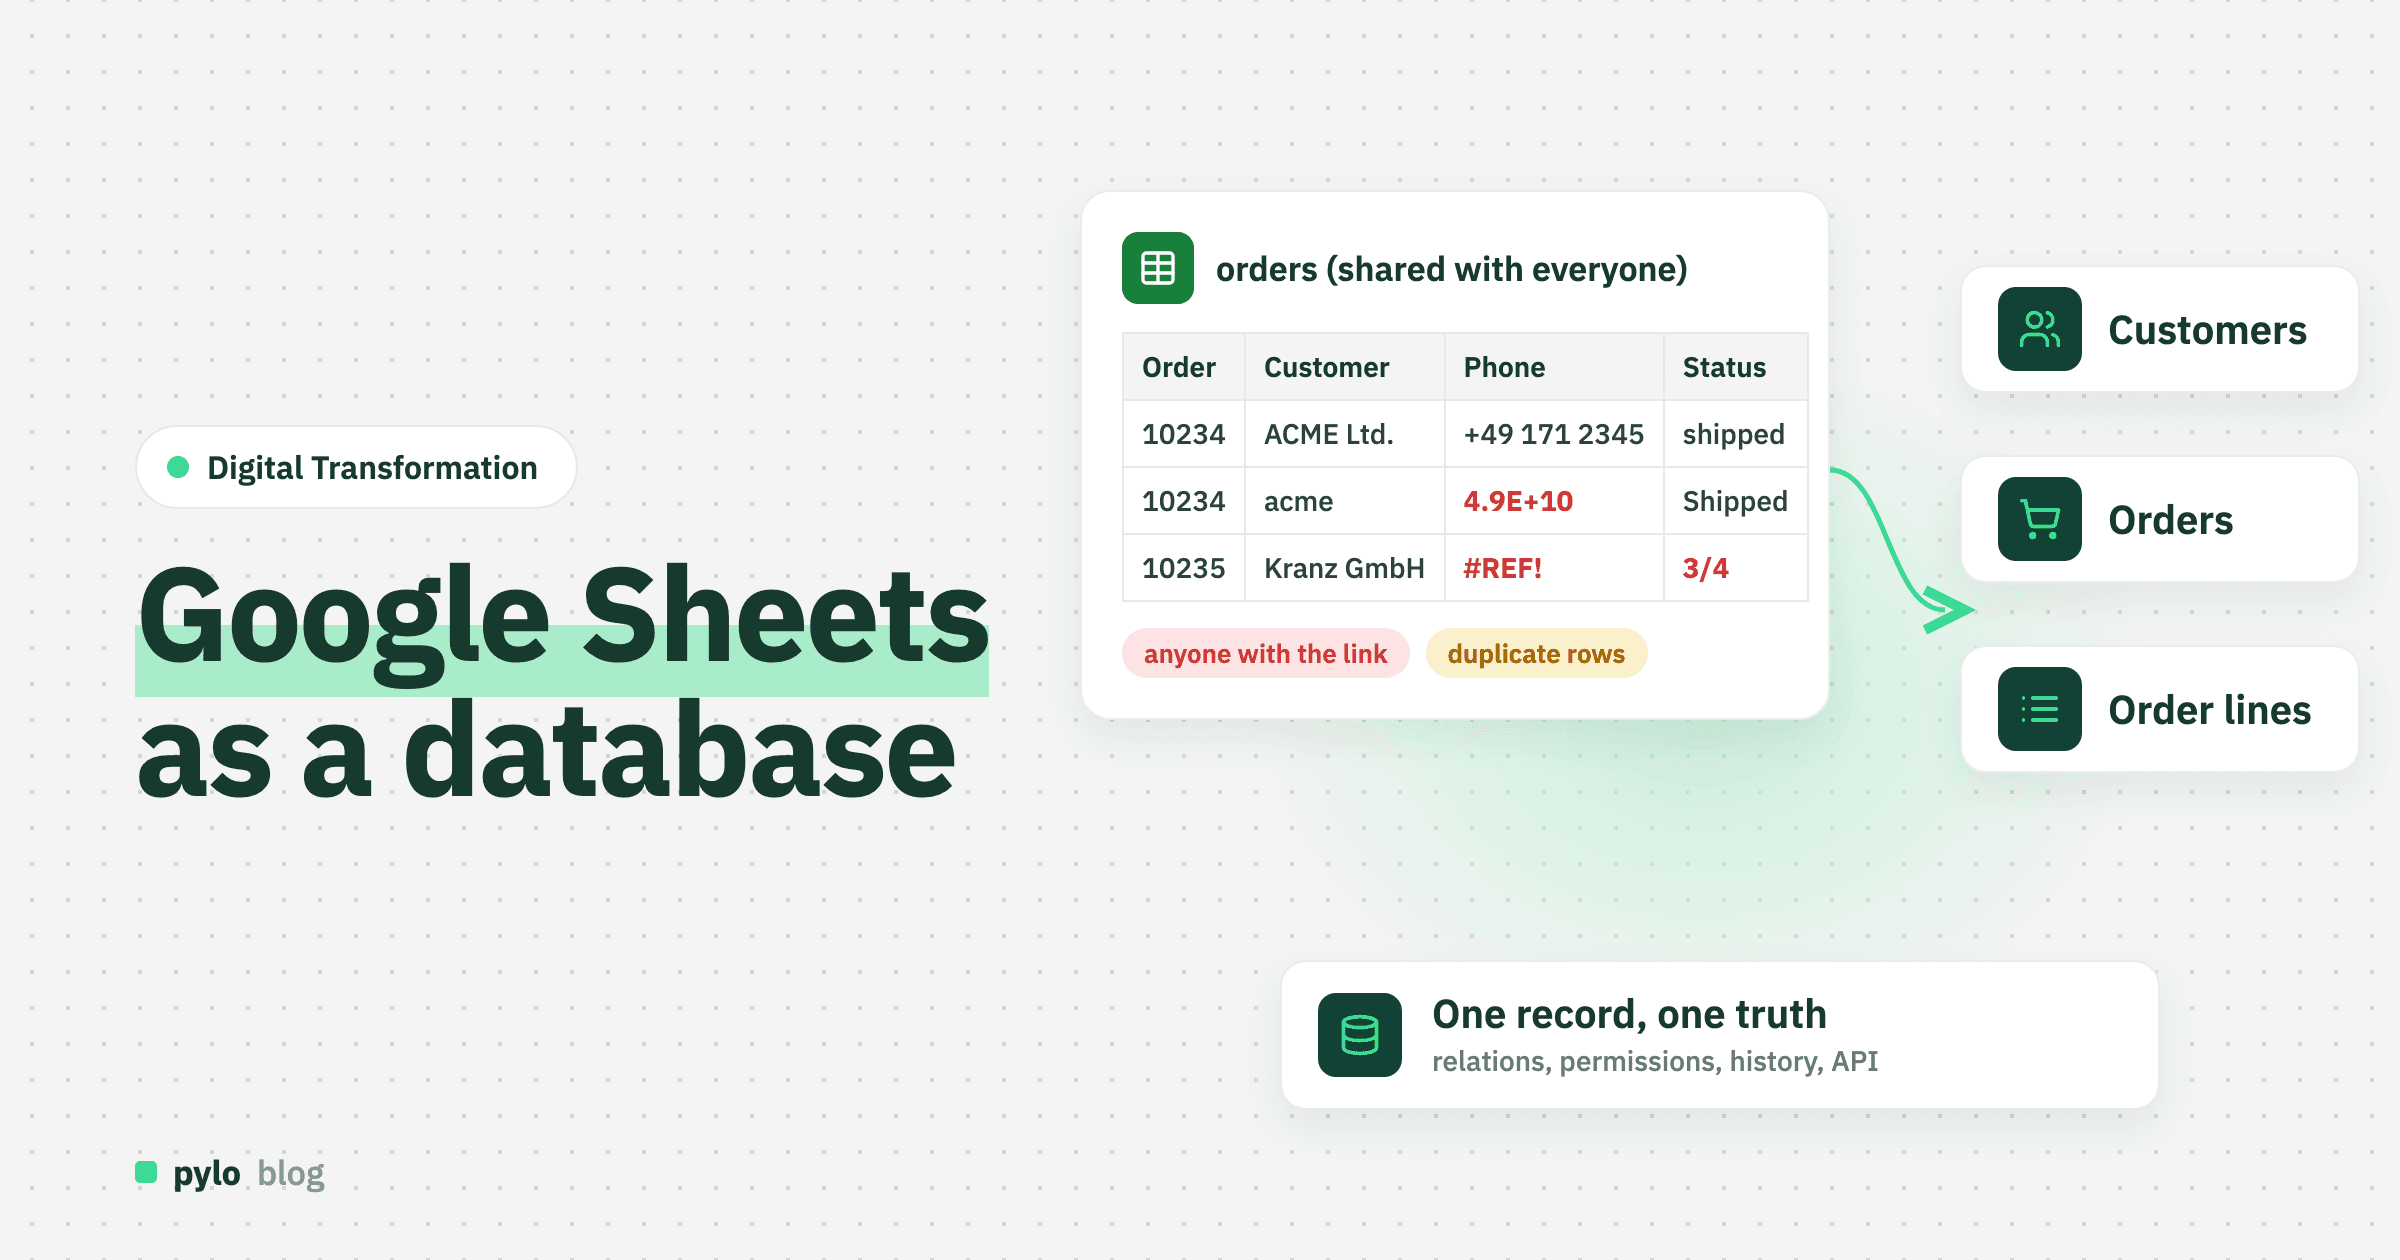
Google Sheets as a database: where it breaks and how to switch
Google Sheets works as a database until several people, an app or a few rules depend on it. How to set up Google Sheets as a database properly, what happens when you use it as a backend through the API or Apps Script, the signs you have outgrown it, and how to move to a real database in five steps.
Read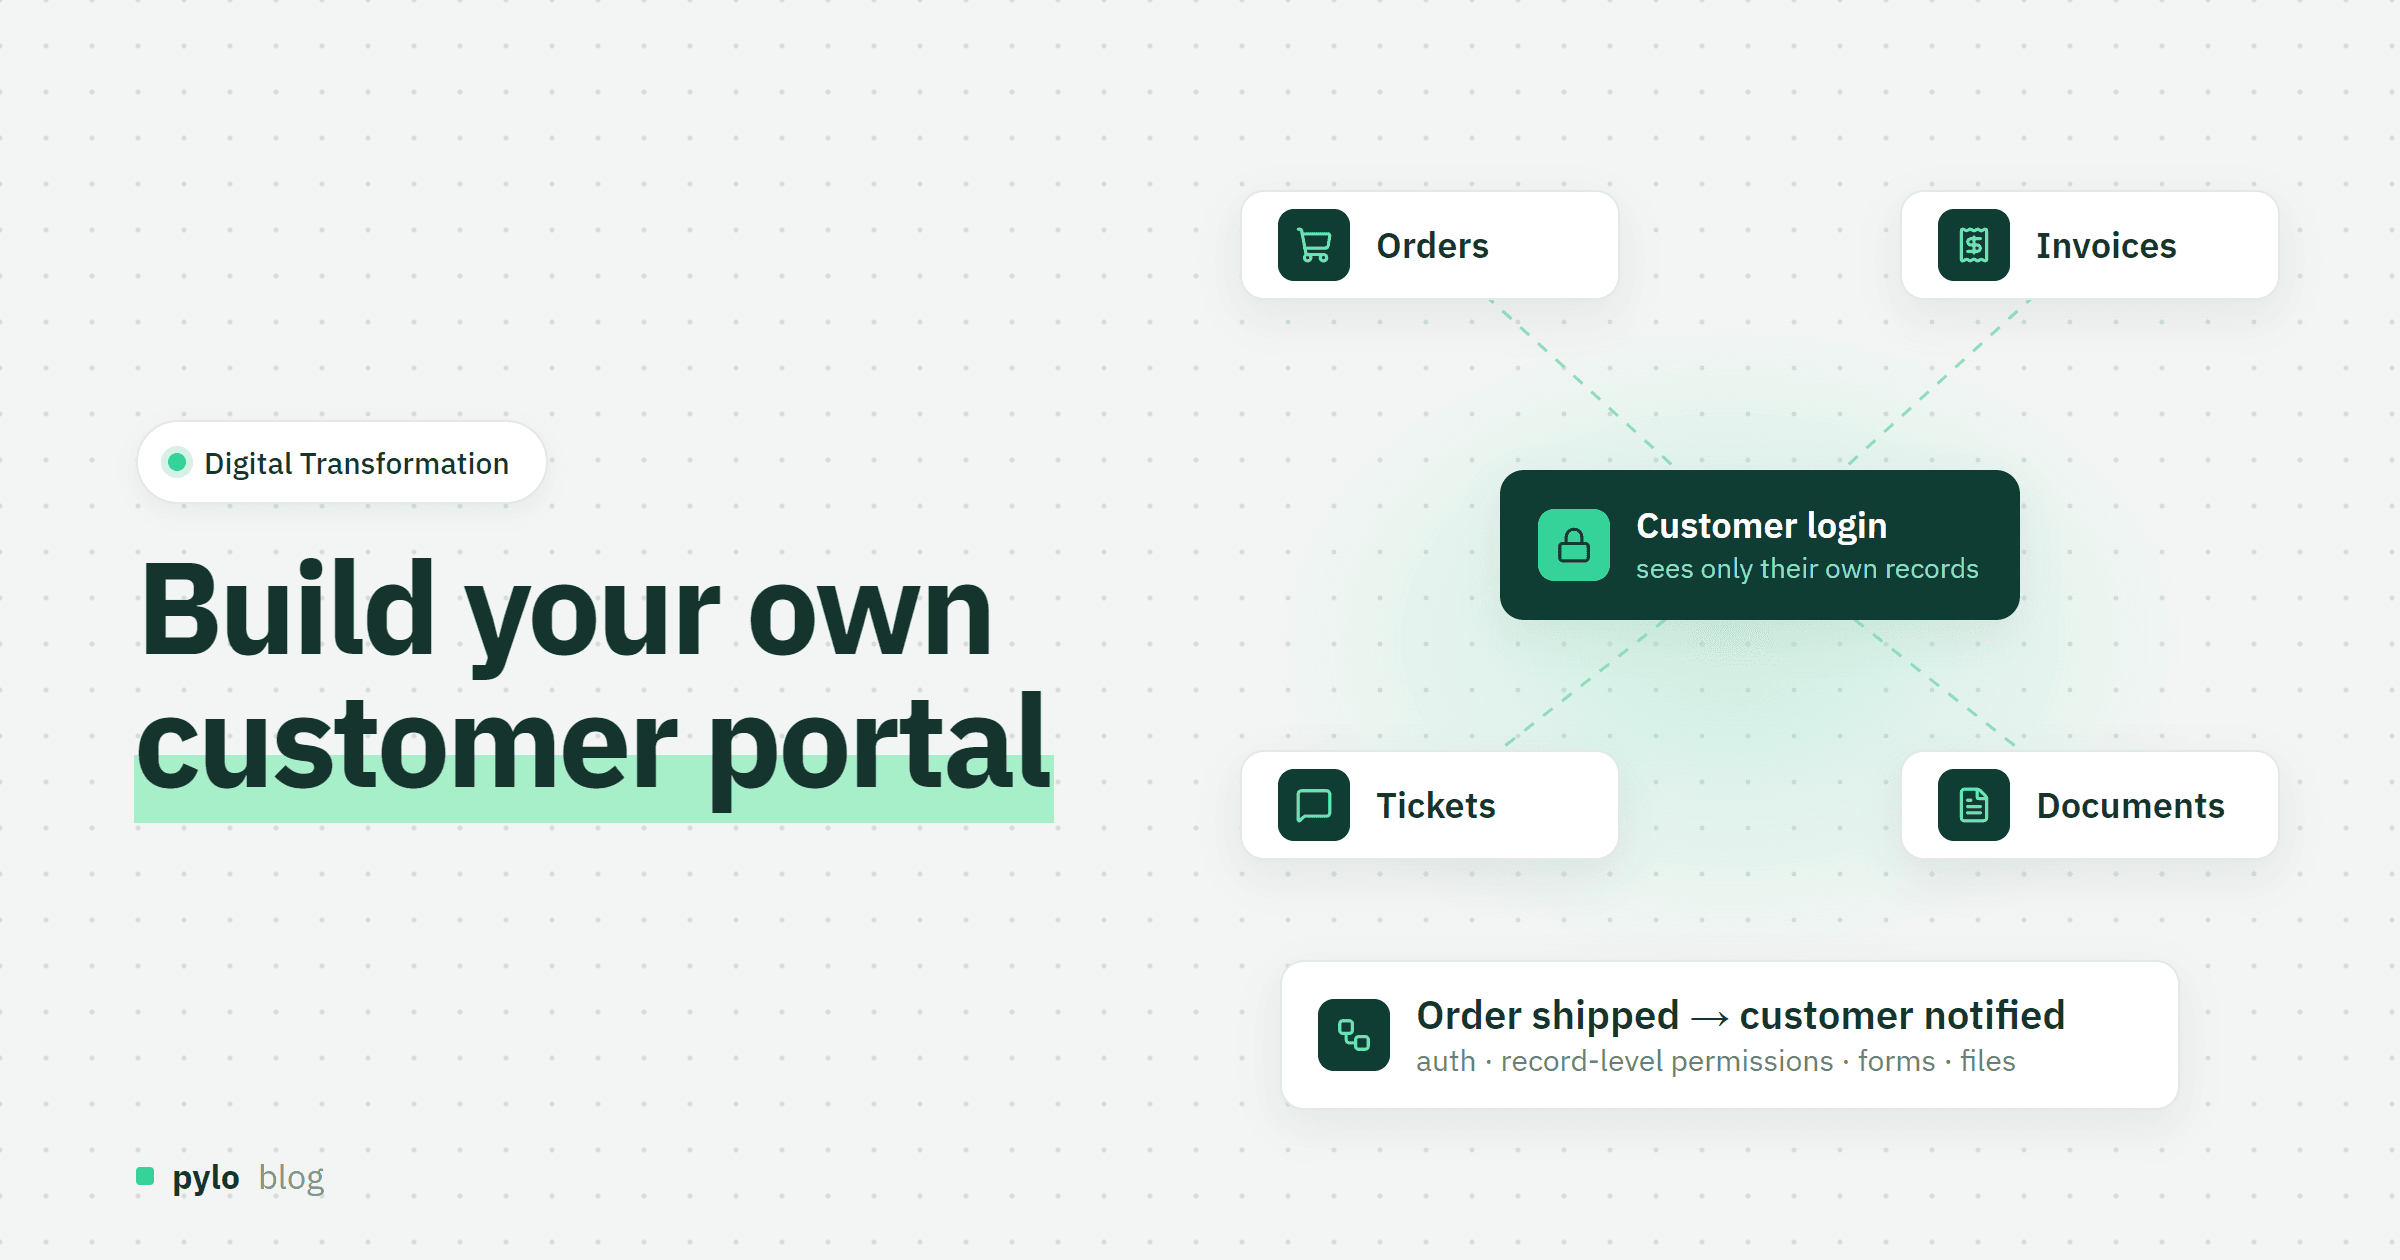
Digital Transformation
How to build a customer portal: data model, permissions and steps
A customer portal lets clients see their orders, invoices, tickets and documents without emailing you. What to show, the data model behind it, how to get permissions right, the three ways to build it and what it costs.
Read